WHY LIVE STREAM?
Live streaming church services is now easier and more affordable than ever before. And there are two good reasons to consider live streaming in your church services.
The first is to accommodate congregants who are unable to attend worship, due to illness, old age, weather or conflicting schedules. We live in a time when it is harder and harder for people to attend weekly worship. Offering a live stream gives people an opportunity to watch from home or to watch the video later in the week.
The second reason is to reach new worshippers. In this connected age, most people will check out a church’s website and online presence before attending a church for the first time. A live stream is a great way of showing them what to expect in worship.

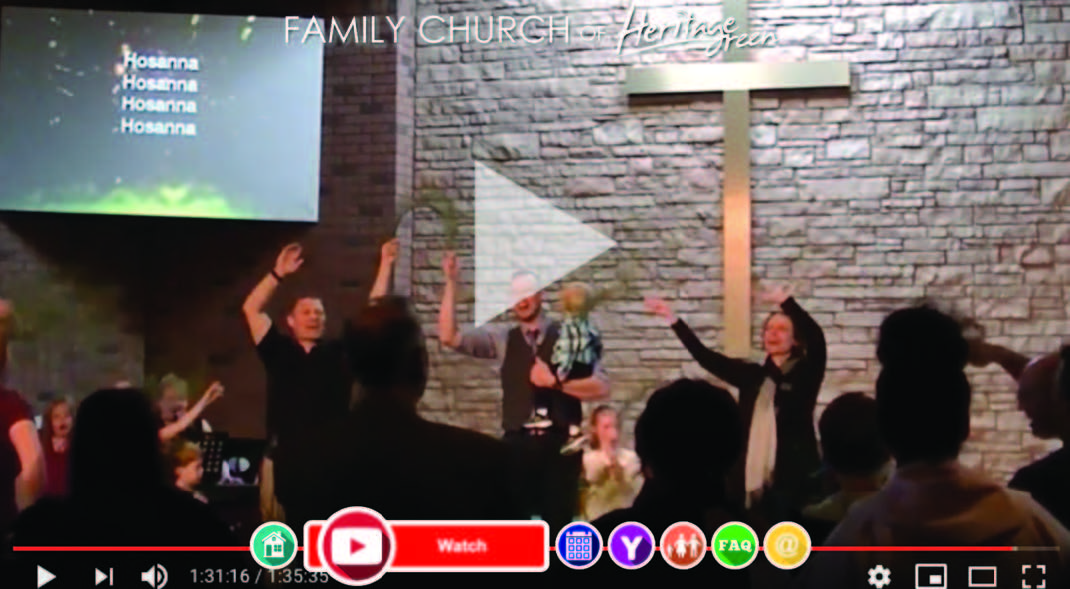
You may wonder if live streaming might take away people who would otherwise be attending in person. At Family Church of Heritage Green, we have found the opposite. Many families have come to our church precisely because of our live stream. And many of our existing church family makes use of the live stream regularly to stay connected.
We even have some viewers who live in a different province and consider themselves part of our congregation! And through our online giving, they even take part in our offering.
IMPORTANT THINGS TO CONSIDER BEFORE STARTING LIVE STREAMING

- Internet: You need a strong Internet connection to live stream. Some churches prefer to use a hard-wired ethernet connection to ensure they have the stability and speed they need. Generally, a strong wireless connection works fine. Just be sure that even when there are lots of other people using the Wi-Fi, as sometimes happens in church buildings, you are still able to live stream without disruption.
- Copyright Concerns: In order to stream your whole service online, you need to have a license for the music portion of the stream. Luckily, church music licensing agencies have live streaming licensing options. For example, CCLI has a cost-effective livestream licensing option for churches that is approximately $50/year. Visit ca.ccli.com for more details. If you are only broadcasting the message portion of your service without music, a streaming license is not required.
- Click here for a list of hymns in the Book of Praise that are in the public domain and can be streamed without any concern. Hymns that have the PCC listed as the license holder are also available for streaming. For hymns not in the public domain or have other copyright holders, you will need to get permission from the copyright holders directly.
- Music Copyright in Online Worship Services: Frequently Asked Questions
- Privacy Concerns: It is important that churches respect the privacy of those attending worship in person as much as possible while live streaming.
- Post signs around the church as well as in the church’s bulletin, audiovisual presentation and other communications, making it clear the services are broadcasted, recorded and made publicly available.
- Create “no video” zones in the worship area so that those who do not want to be filmed can comfortably enjoy the service.
- Avoid using names or sharing identifying information about congregation members during the live stream, unless you’ve received permission to do so. Be aware of the public nature of the live stream when handling prayer requests.
- Get written permission from the parents or guardians of anyone under the age of majority (18 or 19, depending on your province) who will be visible or identifiable on the live stream. No names or personal information should be shared of children in the live stream.
COMMON STREAMING PLATFORMS
The two most common platforms for streaming are Facebook Live and YouTube Live.
The advantage of Facebook Live is that it immediately becomes part of your Facebook presence. If you have an active Facebook page already, visitors and current congregation will be able to find your most recent broadcast easily. The other big advantage is that you can stream directly from your phone. The main disadvantage is that there is no easy way to organize your broadcasts or find old services.
The advantage of YouTube Live is that it is easy to organize your videos and easy for people to subscribe to your channel. It is also easier to produce more complex broadcasts than with Facebook. The primary disadvantage is that YouTube no longer allows accounts with less than 1,000 subscribers to stream directly from their phone. That means you will need to stream from a computer, which is a little more complicated.
LIVE STREAMING WITH A PHONE
If you are just beginning with live streaming, you may want to start out with a simple setup. The easiest way to live stream is using a phone. Pick one with a good camera and mount it on a tripod of some kind. Make sure you place it in an area of the building where the sound is good (i.e., where the music and spoken voice are clearly audible, and where there is not much additional background noise). You may have to move it around from week to week to find the ideal location.
To broadcast using a phone, open the Facebook app. Make sure you have admin privileges on your church’s Facebook page, and then begin a live stream from the page. Try to begin recording as close to the beginning of the service as possible, so that your audience doesn’t need to wait a long time for the service to begin.
As soon as you begin to stream, the broadcast will go out on your Facebook page. When the service is over, stop the broadcast. That’s it—you’re done!
Obviously, this is the easiest way to broadcast a service. But if you want to have a more professional broadcast, better sound or overlay content from your projector screens on the broadcast, you may want to invest in more advanced live streaming equipment.
ADVANCED LIVE STREAMING EQUIPMENT
If you are ready to transition from live streaming with a cellphone camera and microphone to a more professional quality audio and video feed, you will need to rent, borrow or invest in some live streaming equipment. Equipment that used to cost thousands of dollars and require advanced technical training to operate is now within reach for churches with modest budgets. Here is the equipment you’ll need:
Computer: You will need a computer from which to broadcast. It can be the same computer you are using for your slides, as long as the computer isn’t too old to accommodate both things running at the same time. The computer needs to have a good connection to the Internet.
HDMI Monitor: Perhaps it goes without saying, but it is worth mentioning anyway: you also need a monitor to go with your computer so that you can watch the video feed. You do not need an expensive monitor; you may even be able to find a used one from a congregation member.
HD Camera: You will need a good camera which has an HDMI out. There are lots of HD cameras you can purchase for $100–200. If you’re not ready or able to make that investment, consider borrowing one (someone in your congregation likely has one) or renting one to test it out.
Microphone: You either want a good mic to mount on the camera or, if you have a knowledgeable audio team, a way to output the sound from your soundboard into your computer. If you will be using a video switcher (more about this later), you can also plug the microphone into it.
Capture Card/Box OR Video Switcher
Capture Card/Box: This is the device you need to turn the HDMI signal from your camera into something the computer can use as an input. An example would be the Intensity , Intensity Pro or DeckLink from Blackmagic Design (blackmagicdesign.com/ca ).
If you are using a capture card or box for your computer, you will also need streaming software. The most popular free streaming software is OBS (obsproject.com ). It is free to use, very powerful, runs on Mac or Windows, and comes with lots of different options.
Using OBS, you can set up different “scenes” for your broadcast. Start by creating a basic view of your camera by adding your Video Capture Device as a Source. If you are on the same machine as your projector, you can also set up a Screen Capture as a Source, which will take the slides you are projecting on the screen and allow you to overlay them on top of the camera view, like picture-in-picture. You can create more scenes by overlaying words and images on the screen (for example, to create a “Service will begin soon” message). You can switch between these scenes during the service by clicking from one to another.
OR
Video Switcher: Another option is to purchase a video switcher, which will come with its own streaming software. This is a slightly more expensive option than the capture card or box, but it allows you to use multiple cameras (if you choose) and easily “switch” (hence the name) between different camera feeds. Even if you do not have multiple cameras, using a good switcher will allow you make smooth transitions, do picture-in-picture and add pro-level audio to accompany your video.
One low-cost option is a switching unit called the ATEM mini (Black Magic Design) . It costs approximately $400, which is a great price for the quality and capabilities of this video switcher. It is easy to use and fast to learn. On the back, there are four HDMI video inputs for sources like computers and camcorders, along with two 3.5mm microphone inputs. An HDMI output lets you hook up a secondary HDMI monitor to preview your broadcast before making it live, and you can control the ATEM Mini with a computer using the included software. It also allows you to easily add professional video overlays.
SETTING UP A BROADCAST ON YOUTUBE
To set up the broadcast, go to YouTube and sign in with your church YouTube account. Click on the Camera icon and click “Go Live.” You will be able to give your stream a name (e.g., “St. Andrews Service – January 1, 2020”). You can set up the date and time of the broadcast (this can be done in advance). Once the stream is created, you will see a “Stream Key,” which is usually masked by asterisks (****). Click “Copy Key.” Now, go back to OBS or the other streaming software you are using. Click on “Settings.” Choose “Stream.” Then click, “YouTube/YouTube Gaming.” Paste the Stream Key into the space provided. Click OK and then click “Start Streaming.” This will begin sending the video stream to YouTube. But don’t worry—it isn’t broadcasting yet.
When you are ready to broadcast, you will click “Go Live” on YouTube, and that’s when the broadcast will go live.
PRACTICE MAKES PERFECT
Just remember, it takes time to get a good broadcast going. Don’t worry about trying to get it perfect on the first few tries. Keep watching the broadcast week to week and adjust as you go. You might even want to hide the broadcast for the first few weeks, or send it to a private page while you are working out the kinks. Ultimately, think of your broadcast as an extension of your worship service. Those who join you are just as much part of your service as those who are in the building. As you lead worship, keep them in mind and let God’s Kingdom extend out beyond your walls and into the homes of everyone who tunes into your broadcast!
Steps for Live Streaming – Presbyterian Mission Agency
NEED HELP GETTING STARTED WITH LIVE STREAMING?
You are welcome to contact:
Family Church of Heritage Green
Ministry and AV Staff
familychurch.life
Email
1-905-578-3003
The Presbyterian Church in Canada
Communications Department
presbyterian.ca/communications
Email
1-800-619-7301 ext. 268


